
Whether you’re renovating your home or building a new property, professionally installed drywall plays an important role in creating strong, smooth, and long-lasting interior walls. The horizontal panel placement covers more studs and reduces seams, while corner beads prevent the panels from shifting over time. On the other hand, proper screw depth and quality primer contribute toward smooth finishes. If you’re interested in learning how professional drywall installation adds to the strength and charm of your property; you should read this blog that the experts at GOOD SAMARITAN SERVICES LLC have prepared for you. This drywall installation guide explains the professional techniques that help create stronger, smoother, and longer-lasting walls.
Why Is Professional Drywall Installation Important?
Have you ever wondered how a new drywall stays standing for so long? While an important part of your home’s structure; a drywall is much more than a few panels nailed to the studs. It takes thoughtful prefilling, careful staggering and regular sanding to ensure smooth wall finishing by the end. The following section goes over the drywall installation steps to help you understand in more detail.
Read carefully as we explain.
Moisture & Fire Resistance
If you want to protect your structure against fire damage, then a Type X drywall can do that for you. However, if you’re more concerned about hidden leaks and moisture damage instead, an expertly installed green or purple drywall is the way to go.
Horizontal Hanging
When experts start the drywall installation process, they place the panel edges perpendicular to the joists behind them. This cross support technique goes a long way in supporting the structure and keeps the frame and walls from bowing forward as time passes.
Uniform Load Distribution
It’s very important that those panels sit snug against the wall studs. This helps them absorb shocks evenly and distribute them throughout the structure. The result? Each cent of your drywall installation cost is invested into a long-lasting service.
Staggering Seams
Another important part of a quality residential drywall installation in Hopkins, MN is ensuring that all the seams stagger instead of aligning. This way, whether it’s bumping furniture or foundation movement, the drywall is less likely to get damaged.
The Correct Thickness
If your contractors choose drywall panels that are too thin for your needs, you’re going to end up with cracks, gouges and dents pretty fast. So, as the team gets ready to start the drywall installation process, they choose at least 5/8 inch panels to keep this from happening.
Proper Screw Depth
Over-screwing the drywall during the installation tears the paper on top. So, when you have an experienced drywall contractor putting it up, they use dedicated nails and nail guns to secure the panels without damaging the drywall.
Corner Bead Installation
If you want your drywall corners to withstand chips and broken edges, those metal or plastic beads are essential. They protect those 90 degree angles from damage and help your drywall sheetrock installation service to stand much longer in turn.
Prefilling Gaps
As the drywall hanging and taping process continues, contractors also take special care to fill in the gaps with joint compound. This additional step before the tape is placed on top keeps the joints from caving in under any kind of pressure post-installation.
Feathering Edges
As if that wasn’t enough, after the tape is in place, contractors lay another layer of compound on top and feather it out with a putty knife. This way, the finish turns out smooth and property owners get that professional wall finishing that everyone is after.
Regular Sanding
Frequent sanding between each coat is a standard during professional drywall installation services in Hopkins, MN. This way there are no unwanted ridges, bumps or textures that can mess up the finish later on.
Quality Primer Installation
Here’s another one. A quality primer doesn’t just help the color last longer. It also works to seal the tape and drywall paper against damage. The result is a smooth finish without any unwelcome texture that lasts for a long time.
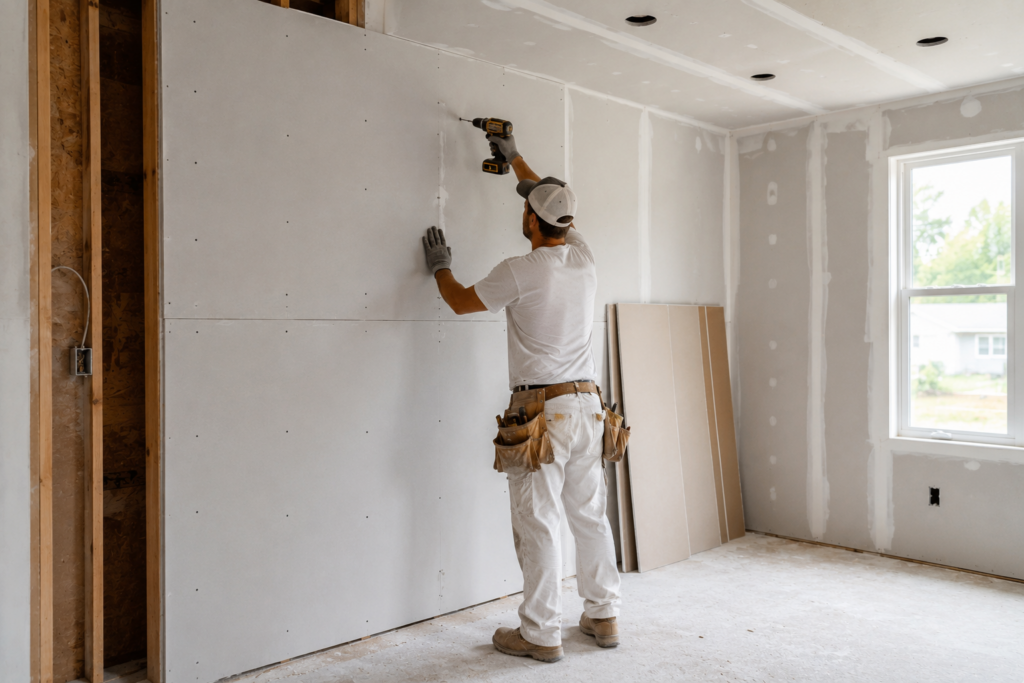
How Does Drywall Installation Improve Wall Performance?
Proper drywall installation does more than create smooth walls. It strengthens the overall wall structure by securely attaching drywall panels to the framing, reducing movement, and minimizing the risk of cracks over time. Professional installation also creates an even surface that improves paint adhesion and allows decorative finishes to look cleaner and last longer. With the right installation techniques and quality materials, homeowners can enjoy durable walls that require less maintenance and continue performing well for years.
Where Can Drywall Be Installed?
Drywall can be installed in almost every area of a residential property, including living rooms, bedrooms, kitchens, bathrooms, hallways, basements, laundry rooms, and home offices. The type of drywall selected often depends on the room’s purpose, such as moisture-resistant drywall for humid spaces or fire-resistant drywall for added safety. Choosing the right drywall and ensuring proper installation helps create strong, smooth walls that enhance both the durability and appearance of your home.
When Should You Consider New Drywall Installation?
Not every wall issue can be fixed with a simple patch or repaint. In many cases, visible damage or poor installation indicates that new drywall is the better solution. Homeowners should watch for these common signs before the problem becomes more expensive to repair.
- Large cracks spreading across walls or ceilings
- Water-damaged drywall panels
- Soft or sagging drywall
- Visible nail pops or loose screws
- Uneven wall surfaces
- Mold growth behind drywall
- Repeated drywall repairs in the same area
If you notice several of these problems, scheduling a professional drywall installation can help restore both the appearance and structural integrity of your home.
Conclusion
In conclusion, a reliable residential drywall installation service can go a long way in keeping your structure standing and the finish beautiful. Qualified drywall contractors pick the right type to safeguard against moisture and fire damage; they stagger the edges and ensure snug installation to prevent shock damage; and sand and prime diligently for a smooth and flawless finish. We hope the article above was insightful. If you would like a residential drywall installation cost estimate, please feel free to reach out to us.
FAQS
How long does the drywall installation process take?
The entire installation process takes around 5-10 days for a standard room.
What is the cost of a drywall installation service?
The average price for the service ranges between $1.50 and $3.50 per square foot.
What is the lifespan of quality drywall?
With proper maintenance, expertly installed drywall lasts around 30-50 years or longer.
Does new drywall need to be primed before painting?
Yes. Applying primer helps seal the drywall surface and ensures better paint adhesion and a smoother finish.
Can damaged drywall be repaired instead of replaced?
Yes. Minor cracks and holes can usually be repaired, but extensive damage may require new drywall installation.